Hexo博客部署指南
一、前置条件
在开始部署Hexo博客之前,请确保你已经完成以下准备工作:
- GitHub账号:注册并登录GitHub账号
- Git环境:在本地电脑上安装并配置好Git
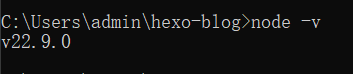
- Node.js环境:安装Node.js
(推荐使用稳定版本,如16.x或18.x,版本控制在14-20之间,推荐使用nvm管理Node.js版本) - Hexo官网:链接文本


二、创建GitHub仓库
- 登录GitHub,点击”New repository”创建新仓库
- 仓库名格式必须为:
<用户名>.github.io(例如:yueshuoci.github.io) - 点击”Create repository”完成创建
三、安装Hexo
1. 全局安装Hexo CLI
2. 验证安装
3. 初始化Hexo项目
1
2
3
4
5
6
|
hexo init hexo-blog
cd hexo-blog
npm install
|
4. 本地预览
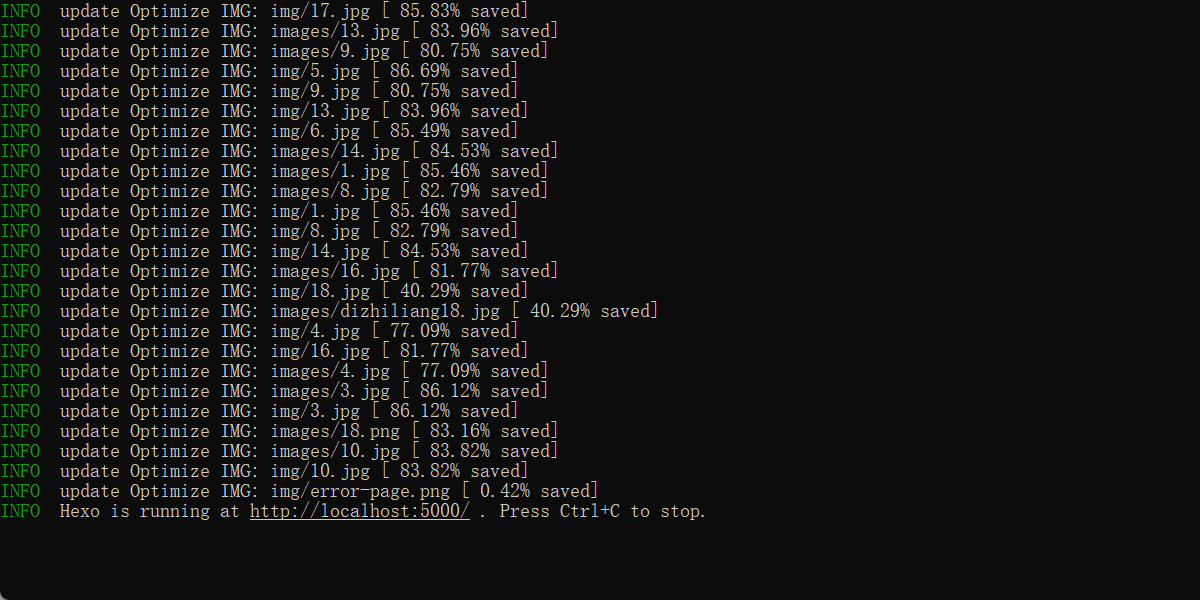
在浏览器中访问 http://localhost:4000 即可查看本地博客效果
四、更换主题
1. 安装Butterfly主题
1
2
|
git clone -b master https://github.com/jerryc127/hexo-theme-butterfly.git themes/butterfly
|
2. 安装必要的渲染器
1
| npm install hexo-renderer-pug hexo-renderer-stylus --save
|
3. 启用主题
修改项目根目录下的 _config.yml 文件(站点配置文件):
4. 创建「关于页」
编辑博客目录下 /source/about/index.md,添加 layout 属性:
1
2
3
| title: about
date: 2026-03-03 14:06:41
layout: about
|
5. 本地预览主题效果
浏览器访问 http://localhost:4000,即可看到ButterFly主题风格的页面
五、创建文章
1. 启用资源文件夹
修改 Hexo 博客目录中的 _config.yml,开启文章资源文件夹功能:
2. 创建新文章
3. 编辑文章内容
创建成功后,编辑 /source/_posts/测试文章/index.md,添加 tags 和 categories 属性:
1
2
3
4
5
6
7
8
| title: 测试文章
date: 2026-03-03 14:06:41
tags:
- 标签1
- 标签2
categories:
- 分类1
- 分类2
|
4. 图片引用方式
在 /source/images/测试文章/ 目录下放入图片 test.png,然后在文章中可以使用以下三种引用方式:
1
2
3
4
5
6
7
8
| # 第一种:Hexo官方推荐用法
{% asset_img test.png 图片引用方法一 %}
# 第二种:标准Markdown语法

# 第三种:绝对路径引用(图片需放在 /source/images/ 目录下)

|
5. 预览文章
浏览器访问 http://localhost:4000,即可看到新添加的文章
六、发布到GitHub Pages
1. 安装部署插件
1
| npm install hexo-deployer-git --save
|
2. 配置部署信息
修改根目录下的 _config.yml,配置 GitHub 相关信息:
1
2
3
4
5
| deploy:
type: git
repo: https://github.com/用户名/用户名.github.io.git
branch: main
token:
|
3. 获取GitHub Personal Access Token
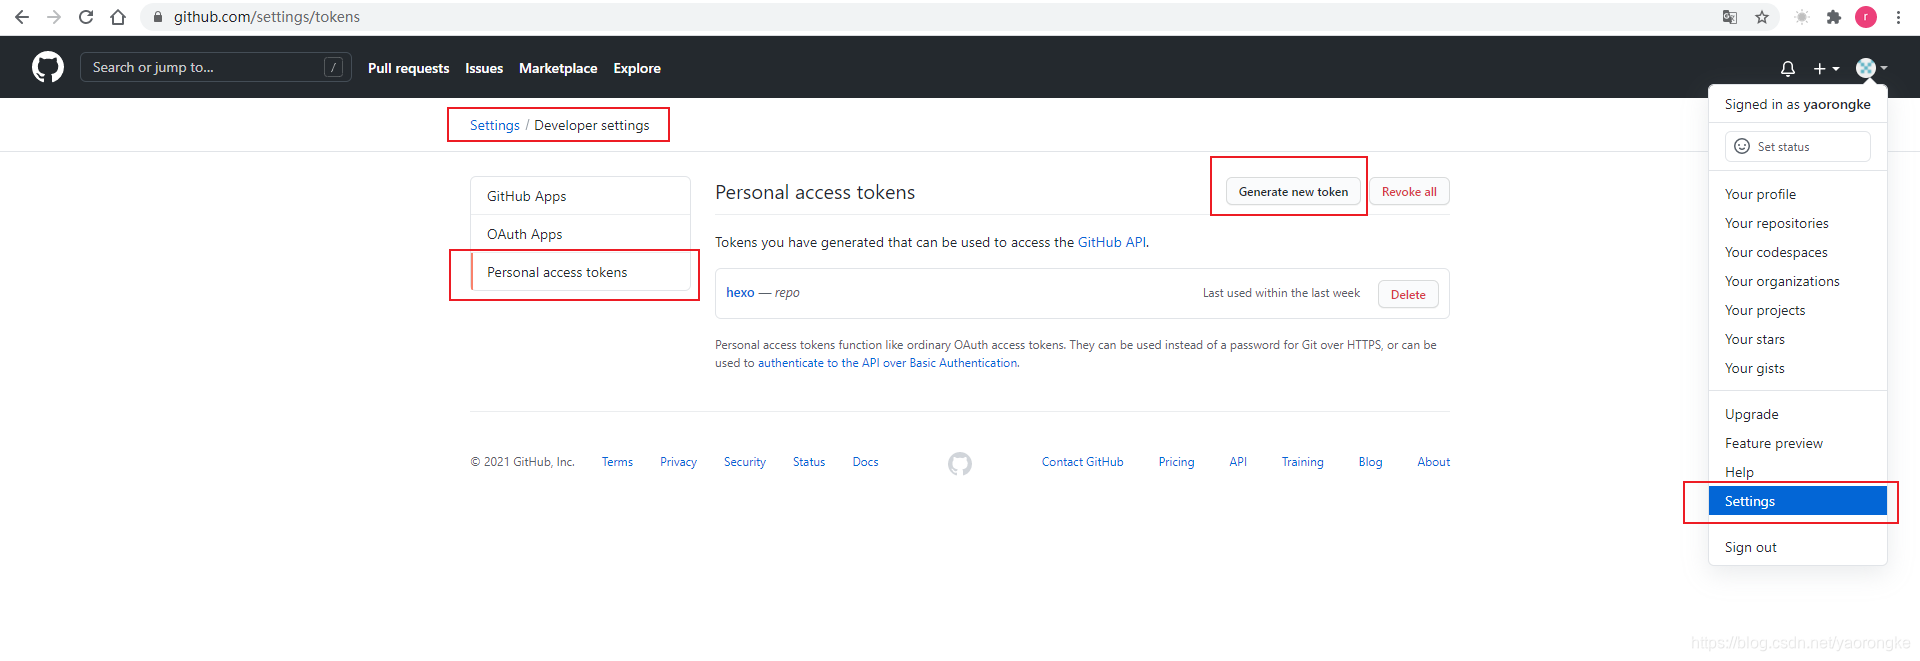
4. 部署到GitHub
部署成功后,浏览器访问 https://用户名.github.io/ 即可查看你的博客
七、常用Hexo命令
| 命令 | 简写 | 功能描述 |
|---|
hexo new post "文章标题" | - | 新建文章(推荐使用 post 明确类型) |
hexo generate | hexo g | 生成静态页面 |
hexo server | hexo s | 启动本地服务器(预览博客) |
hexo deploy | hexo d | 部署博客到服务器/GitHub Pages |
hexo clean | hexo cl | 清除缓存文件 (db.json) 和已生成的静态文件 (public) |
八、常见问题及解决方法
1. 部署时出现文件删除错误
如果部署时出现大量文件删除的报错,通常是因为 Front-matter 格式不正确。请检查所有 Markdown 文件的 Front-matter 部分,确保格式正确。
2. 部署后页面不更新
如果部署后 GitHub Pages 页面没有更新,可以尝试以下步骤:
3. 本地启动后关闭方法
4. Windows中常用命令
| 命令 | 功能描述 |
|---|
hexo clean | 清除缓存文件 (db.json) 和已生成的静态文件 (public) |
hexo g -d | 生成静态文件并部署到 GitHub Pages |
cd hexo-blog | 切换到博客项目目录 |
dir | 查看当前目录文件列表 |
D: | 切换到D盘 |
4. Windows中常用命令
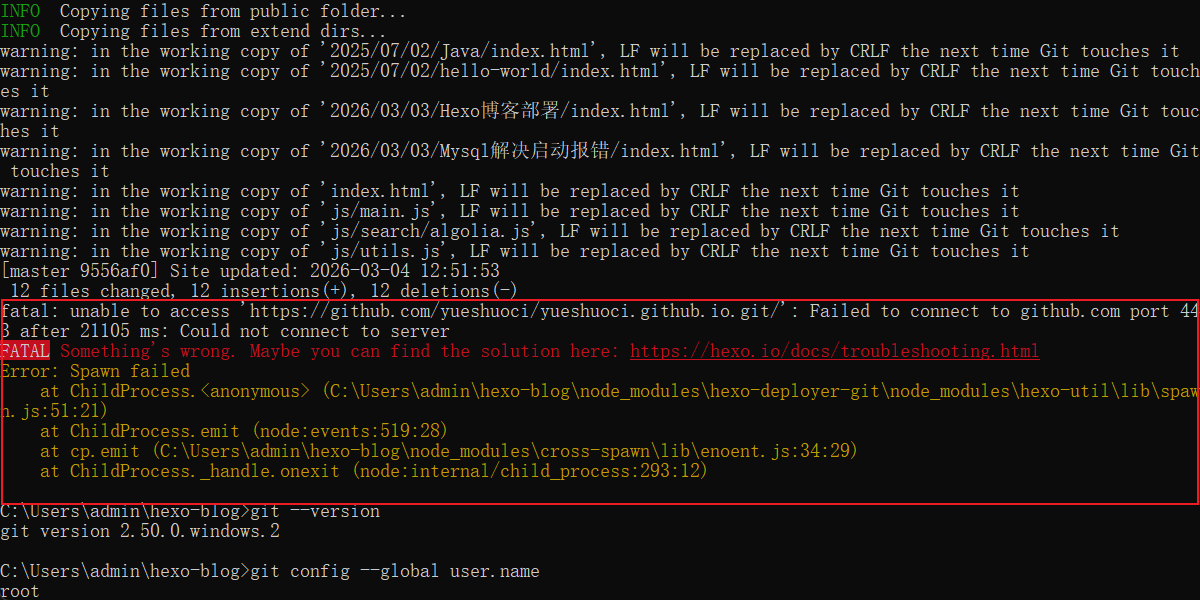
1. 首先验证是否安装git以及是否配置好git全局用户名和邮箱
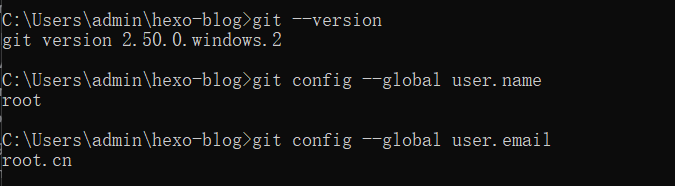
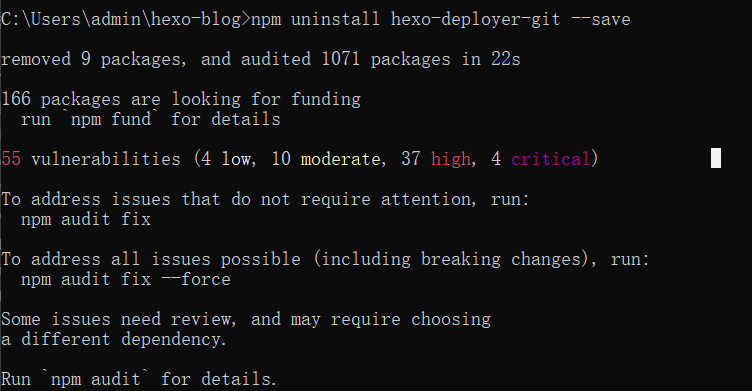
2. 如何还没修复,卸载重装Deployer-git插件
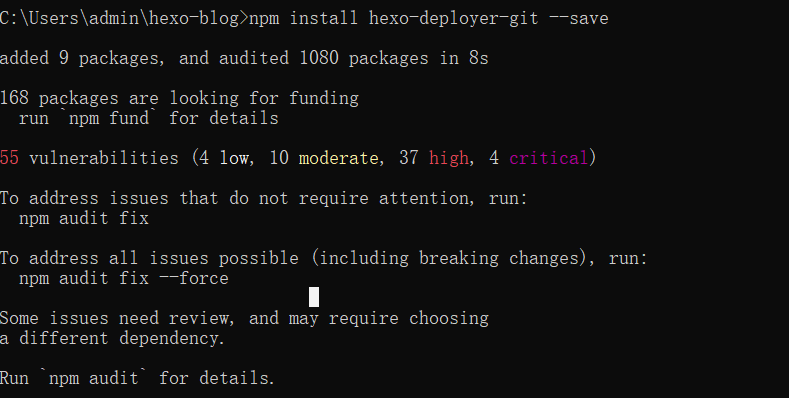
3. 安装Deployer-git插件
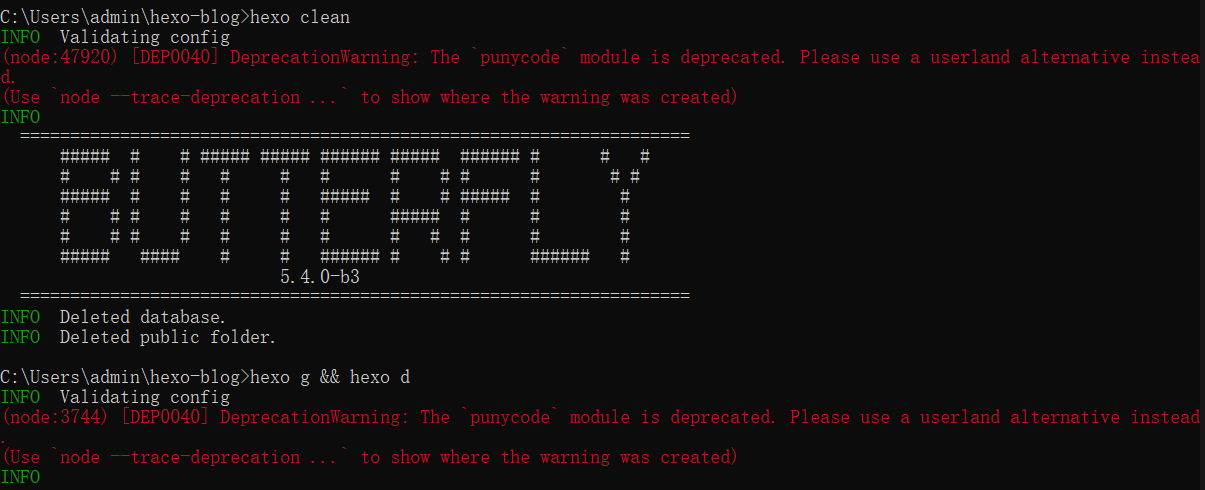
4. 重新部署到GitHub Pages
5.node常用命令
1
2
3
4
5
6
7
8
9
10
11
12
13
14
15
16
17
18
19
20
21
22
23
24
25
26
27
28
29
30
31
32
|
node -v
npm -v
npm install -g npm
npm list -g --depth=0
nvm install 16
nvm use 16
npm run build
npm run deploy
npx gulp minify
npx gulp minify-js
npx gulp minify-css
npx gulp minify-html
|
6. 切换了node版本后hexo命令就无效了
1
2
3
4
5
6
7
8
9
10
11
12
13
14
15
16
17
18
19
20
21
|
npm uninstall -g hexo-cli
npm install -g hexo-cli
hexo -v
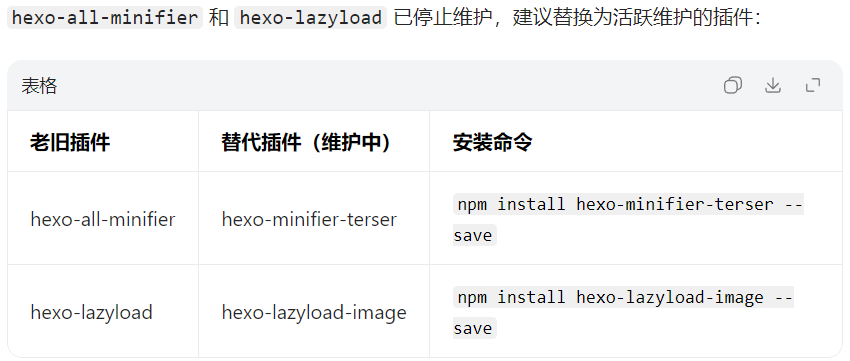
npm uninstall hexo-all-minifier hexo-lazyload hexo-minify hexo-js-minifier hexo-clean-css hexo-html-minifier --save
npm cache clean --force
hexo clean
npm install
|
三、极简实现压缩
安装 gulp 核心包
npm install gulp gulp-terser gulp-clean-css gulp-htmlmin –save-dev
在 Hexo 根目录创建 gulpfile.js
1
2
3
4
5
6
7
8
9
10
11
12
13
14
15
16
17
18
19
20
21
22
23
24
25
26
27
28
29
30
31
| const gulp = require('gulp');
const terser = require('gulp-terser');
const cleanCss = require('gulp-clean-css');
const htmlmin = require('gulp-htmlmin');
gulp.task('minify-js', () => {
return gulp.src('public/**/*.js')
.pipe(terser({ mangle: true }))
.pipe(gulp.dest('public'));
});
gulp.task('minify-css', () => {
return gulp.src('public/**/*.css')
.pipe(cleanCss({ level: 2 }))
.pipe(gulp.dest('public'));
});
gulp.task('minify-html', () => {
return gulp.src('public/**/*.html')
.pipe(htmlmin({
collapseWhitespace: true,
removeComments: true
}))
.pipe(gulp.dest('public'));
});
gulp.task('minify', gulp.series('minify-js', 'minify-css', 'minify-html'));
|
1
2
3
4
5
6
7
8
9
10
11
12
13
14
15
16
17
18
19
20
21
22
23
24
|
hexo g
npx gulp minify
hexo clean && hexo g && npx gulp minify && hexo d
把 “生成 + 压缩” 封装到 package.json 的脚本中,一键执行
```json
{
"scripts": {
"build": "hexo clean && hexo g && npx gulp minify", // 生成 + 压缩
"deploy": "npm run build && hexo d" // 生成 + 压缩 + 部署
}
}
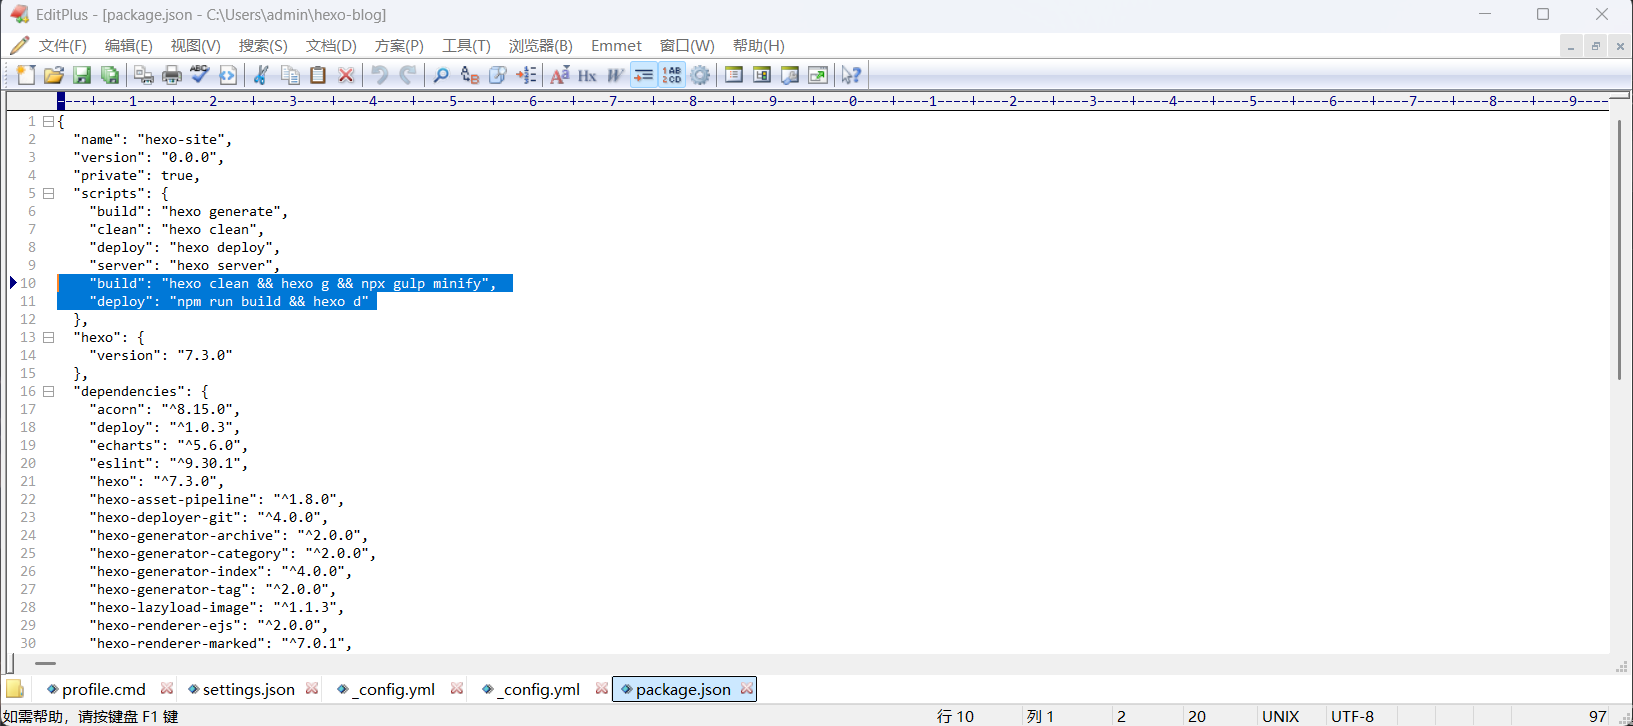
后续只需执行简单命令
npm run build
npm run deploy
|
九、配置Hexo加速
1. 打开cloudflare,注册登录账号
网址:https://dash.cloudflare.com/
2. 配置Cloudflare pages
构建->Compute->Workers和Pages->创建应用程序->选择Hexo博客项目目录->部署-> ->
->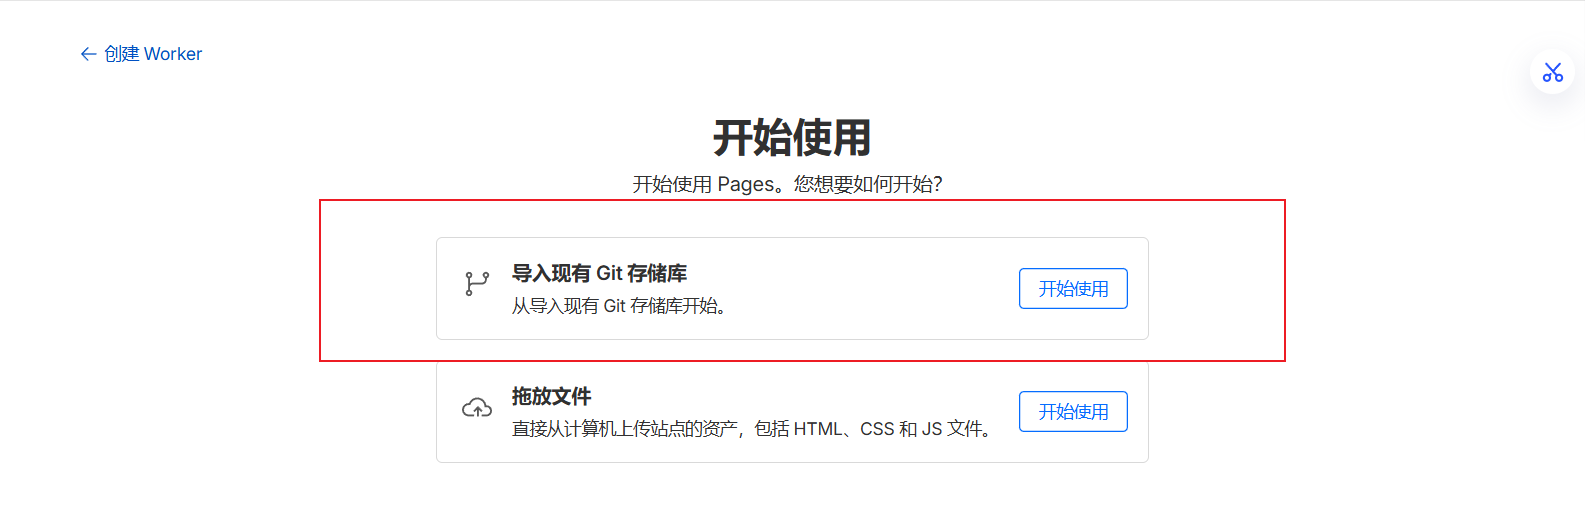 ->开始设置->输入cloudflare给你分配的域名->测试正常!->配置完成。
十、MarkDown常用操作
1. 标题
1
2
3
4
5
6
| # 一级标题
## 二级标题
### 三级标题
#### 四级标题
##### 五级标题
###### 六级标题
|
2. 列表
1
2
3
4
| - 无序列表项1
- 无序列表项2
- 无序列表项2-1
- 无序列表项2-2
|
3. 引用
4. 代码
1
2
3
4
5
6
7
8
| // 行内代码
`console.log('Hello, World!');`
// 代码块
```javascript
function sayHello() {
console.log('Hello, World!');
}
|
5. 图片
6. 链接
7. 表格
1
2
| | 列1 | 列2 | 列3 |
| --- | --- | --- |
|
8. 换行
9. 强调
1
2
3
4
5
| *斜体文本*
_斜体文本_
**粗体文本**
__粗体文本__
~~删除线文本~~
|
10. 任务列表
1
2
| - [ ] 未完成任务1
- [x] 已完成任务2
|
11. 图片带链接
12. 分割线
通过以上步骤,你已经成功部署了一个基于 Hexo 和 GitHub Pages 的个人博客。祝你博客写作愉快!